Our latest development project Queues is ready for release. You will find the new feature in your Metis accounts tomorrow.
The decision to develop a Queue builder for Metis was taken when we noticed a large increase in customers using Queues. A service which, at the time, was only available on request and had no front-end interface.
We have always been believers in giving customers the tools to manage their own system. The obvious next step was to create a section of Metis where you can add, change and improve your Queues.
Before we go into the interface and how to use it, here’s a short run through of what to expect:
- Custom names for Queues
- 2 different ringing strategies: Ring All or Round Robin
- Service Level Target (to be used with Dashboards & Reports)
- Add your Periodic Announcement
- Pause / unpause members dynamically
Where to find Queues
Queues can be found on the left-hand menu, above Incoming & Outgoing Calls.
What’s in there
You will be presented with the following features after navigating to Queues:
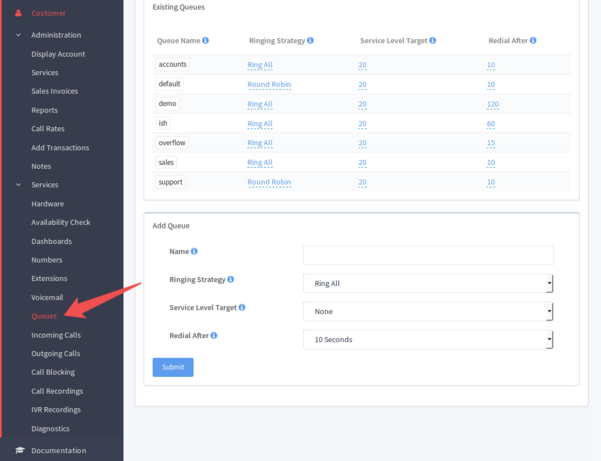
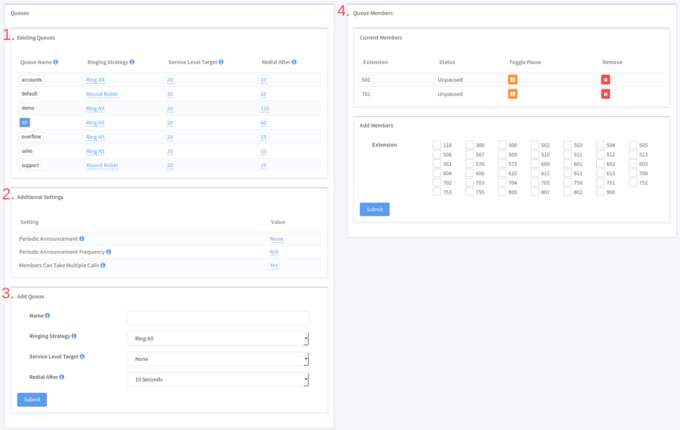
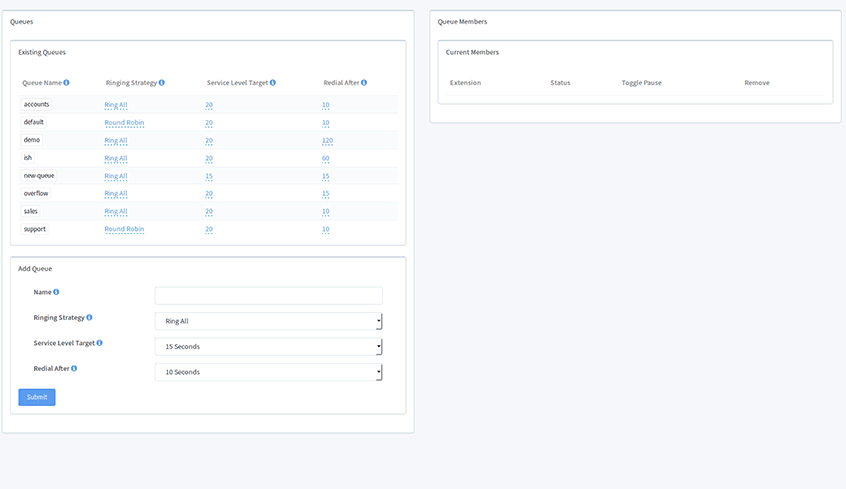
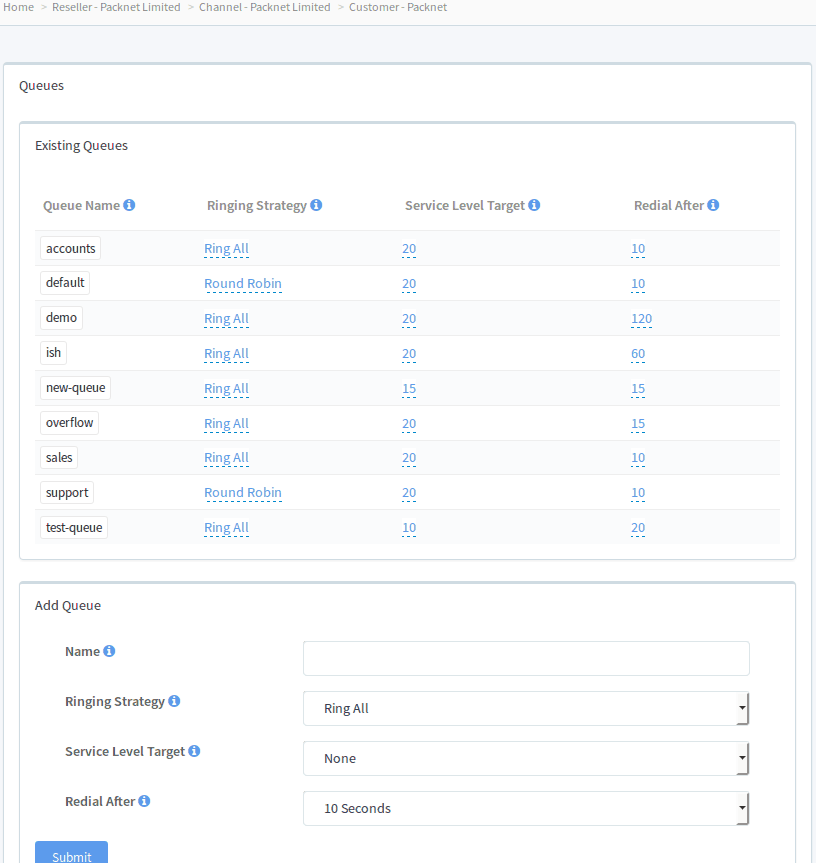
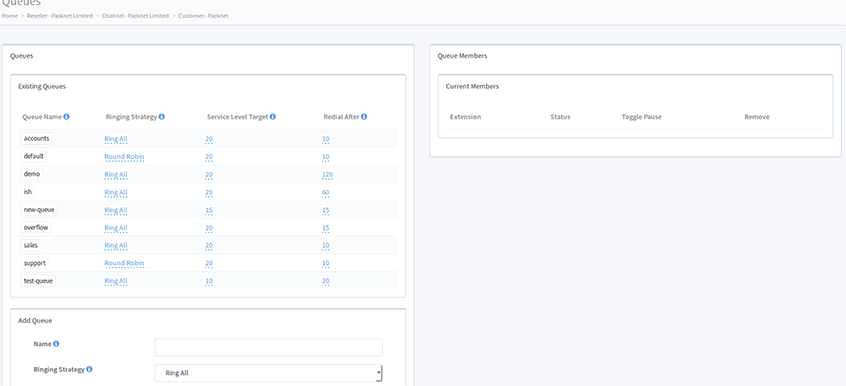
1. Existing Queues
-
View and edit all Queues. When a Queue is selected any additional settings can be configured via the Additional Settings panel.
2. Additional Settings
-
This section will appear once an existing Queue is selected. Set the Periodic Announcement, its frequency and if queue members can have more than one call routed to them at any given point. Please note that Periodic Announcements must be loaded onto the system via IVR Recordings, or sent into Packnet.
3. Add Queue
-
Create a new Queue in seconds. Specify the name, ringing strategy, service level target and Redial After times.
4. Queue Members
-
Current Members – Toggle member status [paused / unpaused], remove members and see their current status.
-
Add Members – Select new and additional members for your Queue from the list of available extensions.
How to add a Queue
- Give your Queue a name.
Do this by entering text into the Name field. - Select your Ringing Strategy from the list.
Choose between ringing all members at once or ringing all members one at a time, which corresponds to “Ring All” and “Round Robin” respectively. - Set your Service Level Target.
Your Service Level Target (SLT) is the target time all calls in your queue should be answered by. This figure can be used in conjunction with Dashboards where you can see your SLT success rate in real time % terms. - Set your Redial After time.
To be used in conjunction with your Ringing Strategy.
If using “Ring All” then your Redial After time corresponds to how often the system checks that a member has been freed up to accept another call.
If using “Round Robin” then your Redial After time corresponds to the ringing time for each individual queue member before moving on. - Press submit and you will see your Queue in the Existing Queues panel.
Any configurable additional settings will appear in a separate panel beneath Existing Queues.
In short: Name the Queue, select the ringing type, set the SLT, set the Redial After time.
How to configure any additional settings
Once a Queue has been added, you have the option of configuring any additional settings:
- Periodic Announcement
Chosen audio file to be played to callee whilst waiting for call to be answered. File must already be uploaded to the system. To upload new files navigate to IVR Recordings > Upload Rec File. - Periodic Announcement Frequency
How often the periodic announcement is played. - Members Can Take Multiple Calls
Sets if a member can have another call routed to them if already on a call.
How to add members to your Queue
- Ensure the correct queue is selected from the existing Queues panel
- Navigate over to the Queue Members panel
- Select the members you want to add via the Add Members panel
- Press submit!
As you can see in the gif below, other actions can be performed from the Current Members panel.
From here Queue members can be paused, unpaused and removed at the press of a button.
A member’s current status can be seen in the Status column for clarification.
Done
You’ve created your first queue. All Queues will appear in the Existing Queues panel and can be managed independently.
Once any queue is added the quick-edit function can be used to make changes that take effect immediately.